Vanilla Sweet Cream Cold Brew
The closest you can get to Starbucks at home.
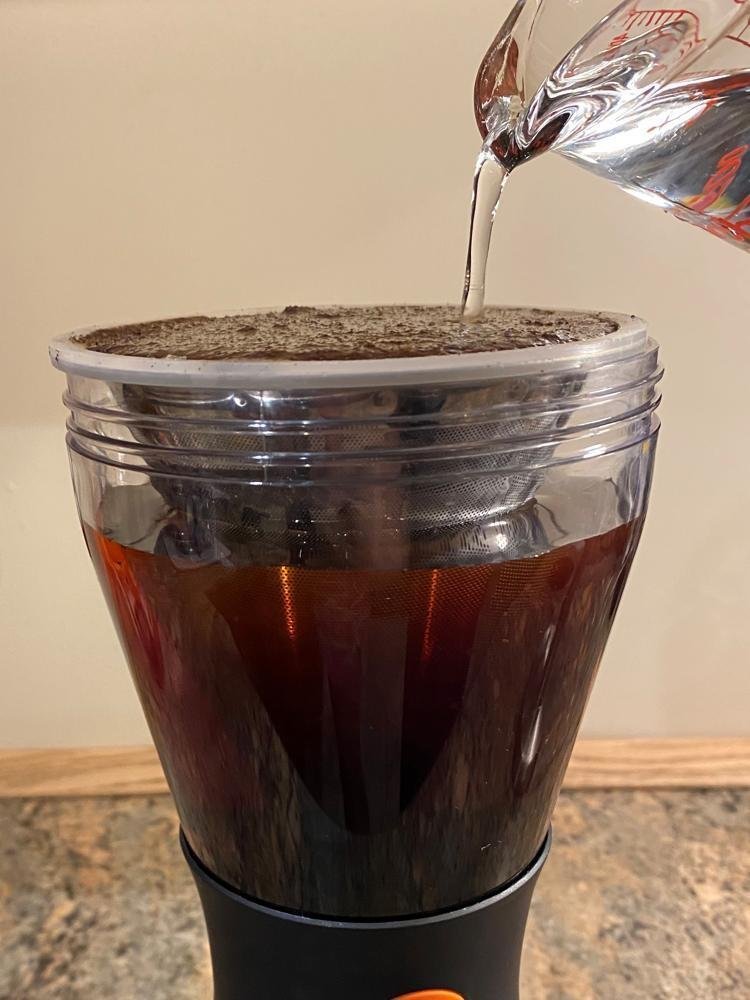
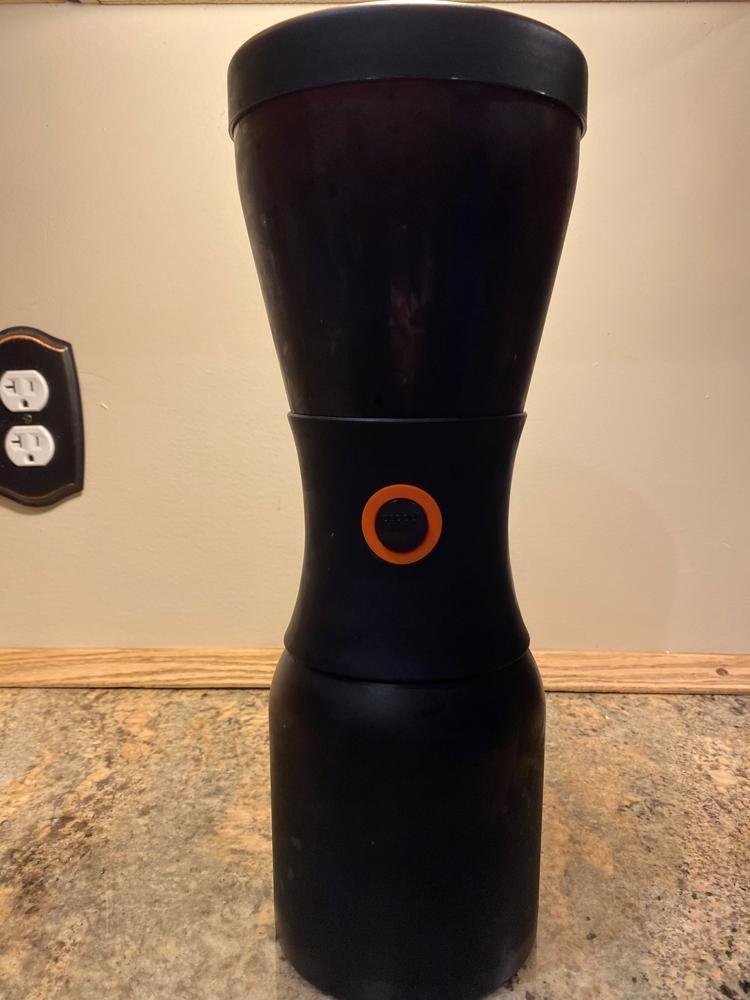
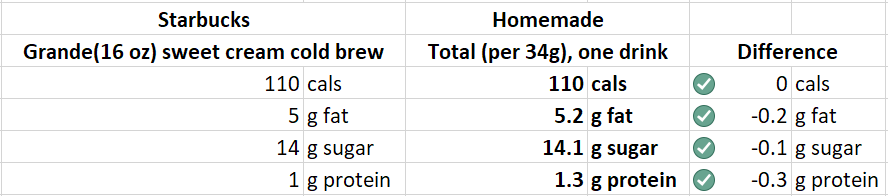
At the beginning of the 2020 quarantine Starbucks was closed for months, leaving me missing the taste of my favorite item: The Vanilla Sweet Cream Cold Brew Out of other options, I decided I would try to make this recipe myself. I was already making cold brew on a regular basis. Even this took a few attempts to get to my liking. But after controlling the coffee used, temperature, and brew time, I found a flavor that I really enjoyed.Then I tried recreating the vanilla sweet cream so I could recreate the Vanilla Sweet Cream Cold Brew. I tried a few recipes, but none fully reminded me of the perfect bitter-savory-sweet combination the Starbucks version produces. This lead me to taking a more scientific approach to create a vanilla sweet cream with identical nutrition facts to the Starbucks version. If the nutrition facts lined up, I thought, the taste would follow suite. The result was so close I had to share it in this recipe. But first, we need a great cold brew that can support the flavor of the vanilla sweet cream. The Cold Brew: For this cold brew I am using the Asobu Cold Brew Coffee Maker. I've had some great results with this cold brew maker so far, everything comes apart so its really easy to clean and the filter is really fine, so no small coffee grinds get through. If you're just getting started with cold brew, you just need a container to hold the cold brew, and a filter. At its core, cold brew is really simple: Just combine your coffee with filtered water, allow it to rest, and then filter out the coffee grinds with a coffee filter or cheesecloth. However, there are some variables that with heavily impact how enjoyable the result is. I've found that great cold brew comes down to two major factors: the coffee and the extraction (time and temperature).
- The Coffee: Medium to dark roast coffees are best. While cold brew is great at leaving behind the bitter taste that can be experienced from traditional brewing, it can also leave behind some of the subtle flavors. These subtle flavors (usually floral, fruit, and citrus notes) are what a great light roast relies on. A dark roast, on the other hand, usually has robust chocolate and dark fruit flavors produced by the roasting process. For this reason, I’ve found the dark roast and (some) medium roast coffees worked great with cold brew, while the light roasts tended to be lacking in flavor. This dark, roasty flavor is exactly what Starbucks is contrasting when they add their vanilla sweet cream (think: Oreos, black and white cookies, and hot fudge sundaes), so it’s important that this flavor is present. Besides that, use any coffee you enjoy, both single origin and blends lead to interesting results from my experience.
- Temperature, coffee grind size, and brew time: Depends When I first started making cold brew coffee, I ground my coffee to a coarse grind. This a more traditional cold brew method. Coarse ground coffee, sitting at room temperature for 12-24 hours, filtered, cooled, and served. This method works, but it was more difficult for me to perform on a regular basis. Mainly because the coffee would have to sit for 12-24 hours, then it would need to be chilled, so it became a two-day process (and adding ice to room temperature coffee diluted it too much for me). The method was also highly subject to how the coffee grind size. Unfortunately, my current coffee grinder does not produce accurate or consistent grind sizes. So if you're like me and you don't have an easy way to control your coffee grind size, you may want to try using pre-ground coffee with a refrigerated extraction. My new method is to use medium, pre-ground ground coffee that is allowed to rest in the fridge for 6-12 hours. The fridge was the missing piece for me. I’ve tried pre-ground coffee in the past, but it led to terribly bitter over-extractions at room temperature. In the fridge, the extraction is slowed down and has led to some of the most amazingly smooth and flavorful cold brew I’ve ever experienced at home. It is possible that the cold temperature in the fridge can lead to some subdued notes from the coffee. But from my experience (and the fact that we’re adding a vanilla sweet cream to it) this will not majorly impact the end result. This method also makes the process much easier! Just take the pre-ground coffee, add filtered water on top, put it in the fridge before you go to bed, and in the morning you will have delicious cold brew ready to go. The added benefit: It's already cold!
- Heavy cream
- Whole milk
- Half-and-half
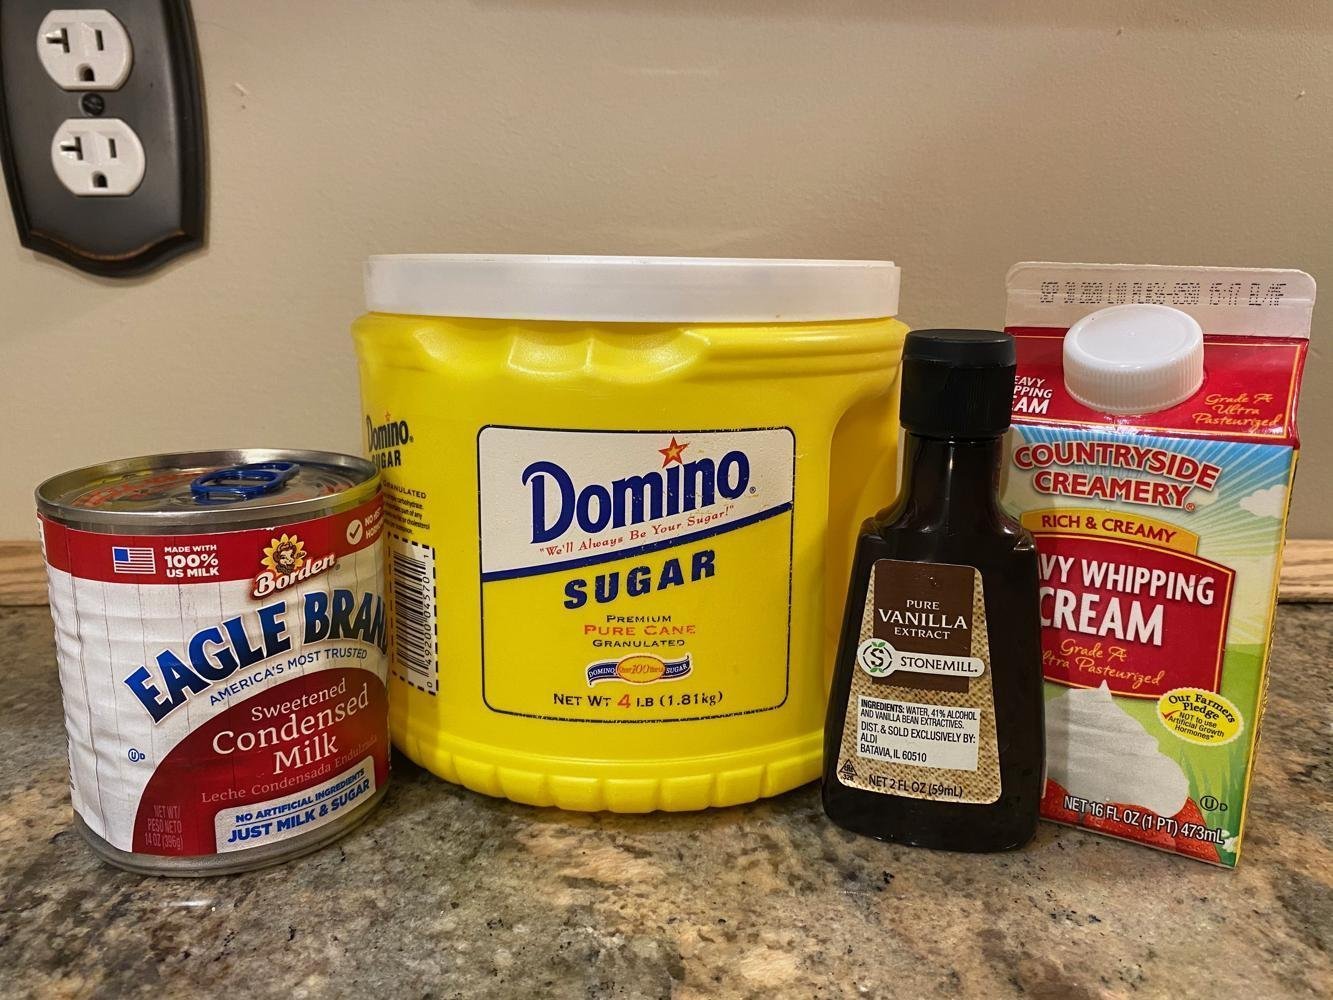
- Sweetened condensed milk
- Vanilla syrup (combination of simple syrup and vanilla)
- Cream
- Milk
- Vanilla syrup (sugar, water, vanilla extract)

- Prepare the cold brew by combining the coffee with the cold filtered water. Allow to brew in the fridge for 6-12 hours.
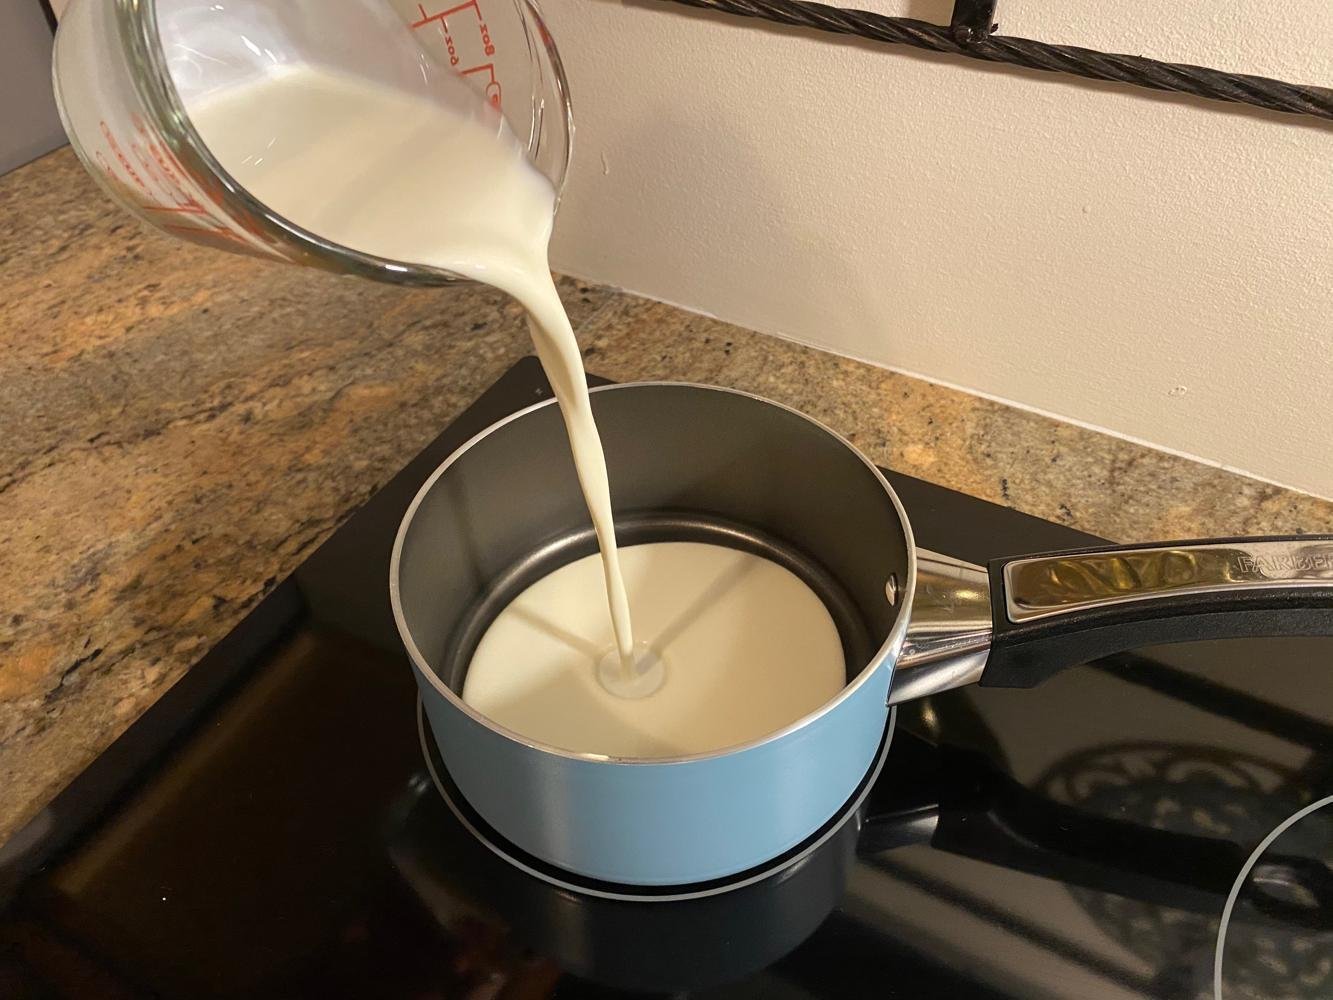
- Prepare the vanilla sweet cream by combining everything except the vanilla extract in a saucepan over medium-high heat.
- Stir often until the mixture just reaches a boil; remove from heat and allow to cool.
- Transfer to a sealed container, cool in the fridge for at least 1 hour (use within 3-4 weeks).
- When the cold brew is ready, filter it and store in a separate container.
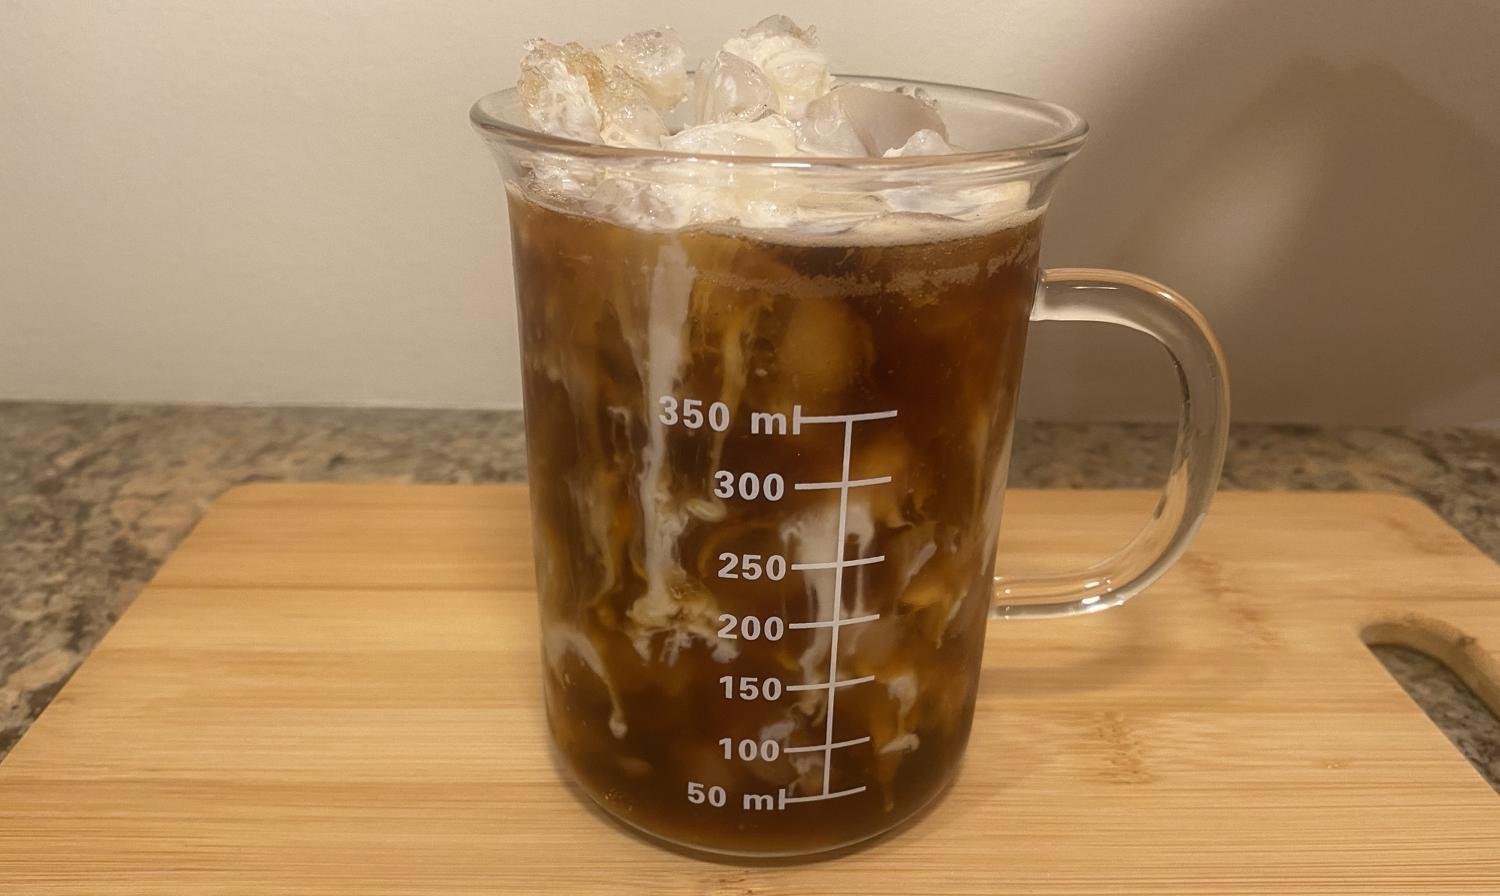
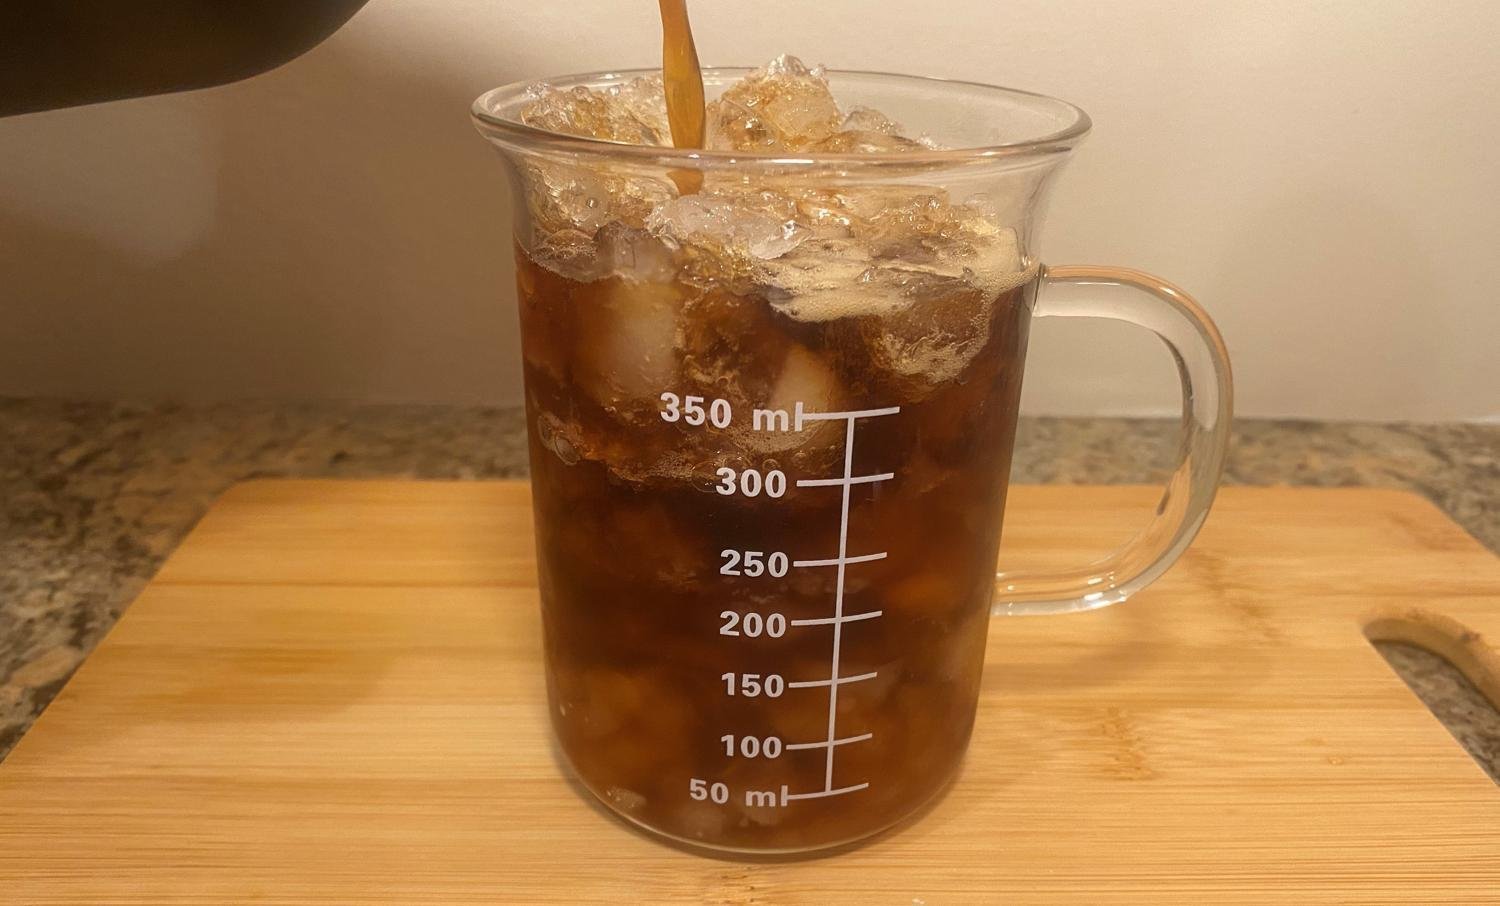
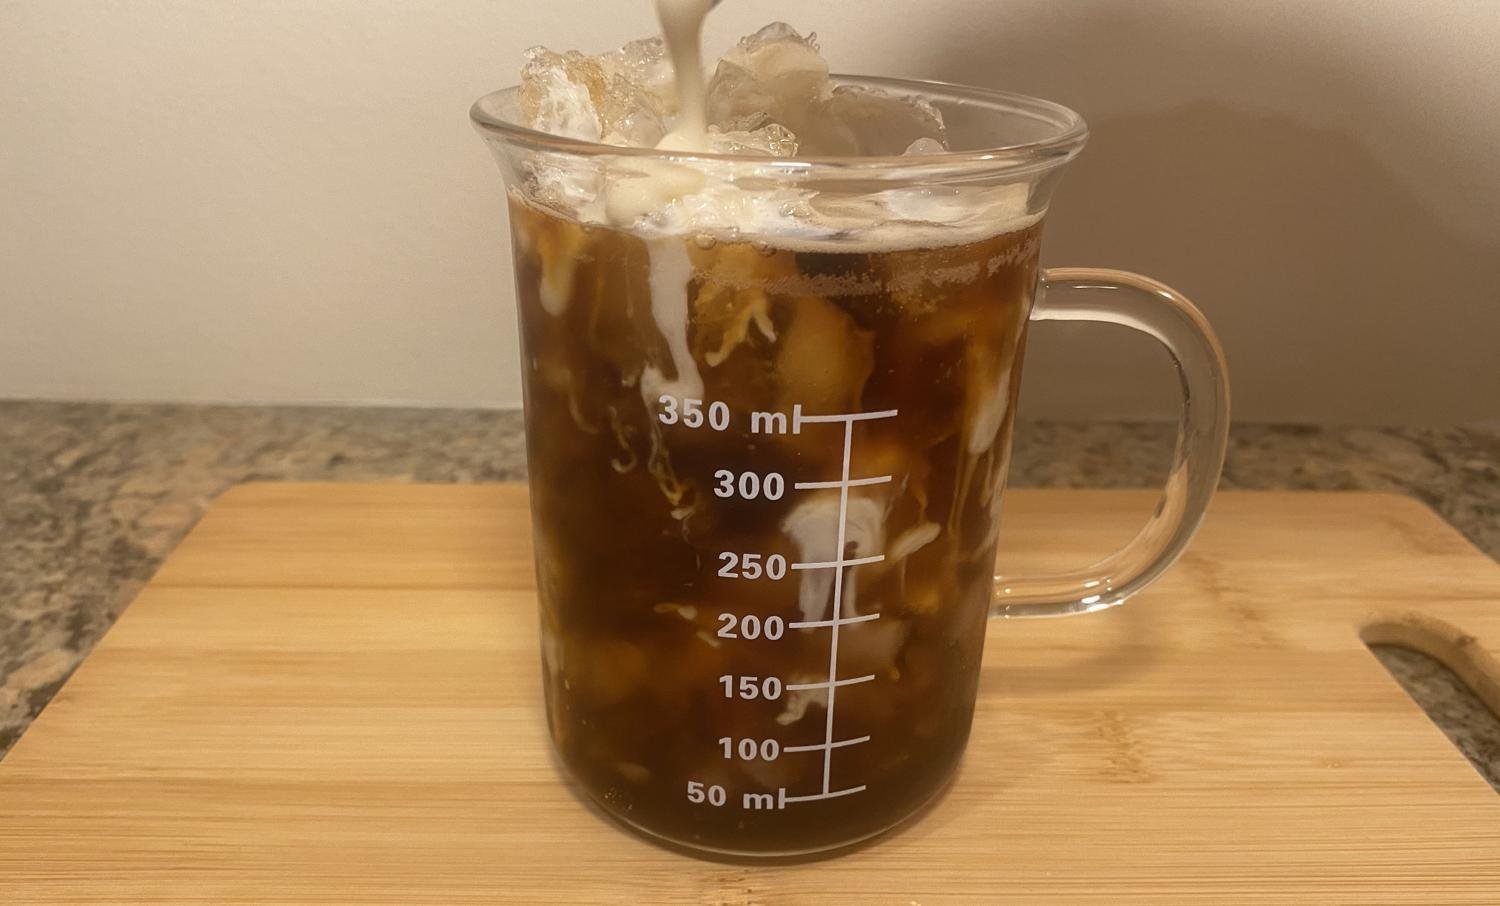
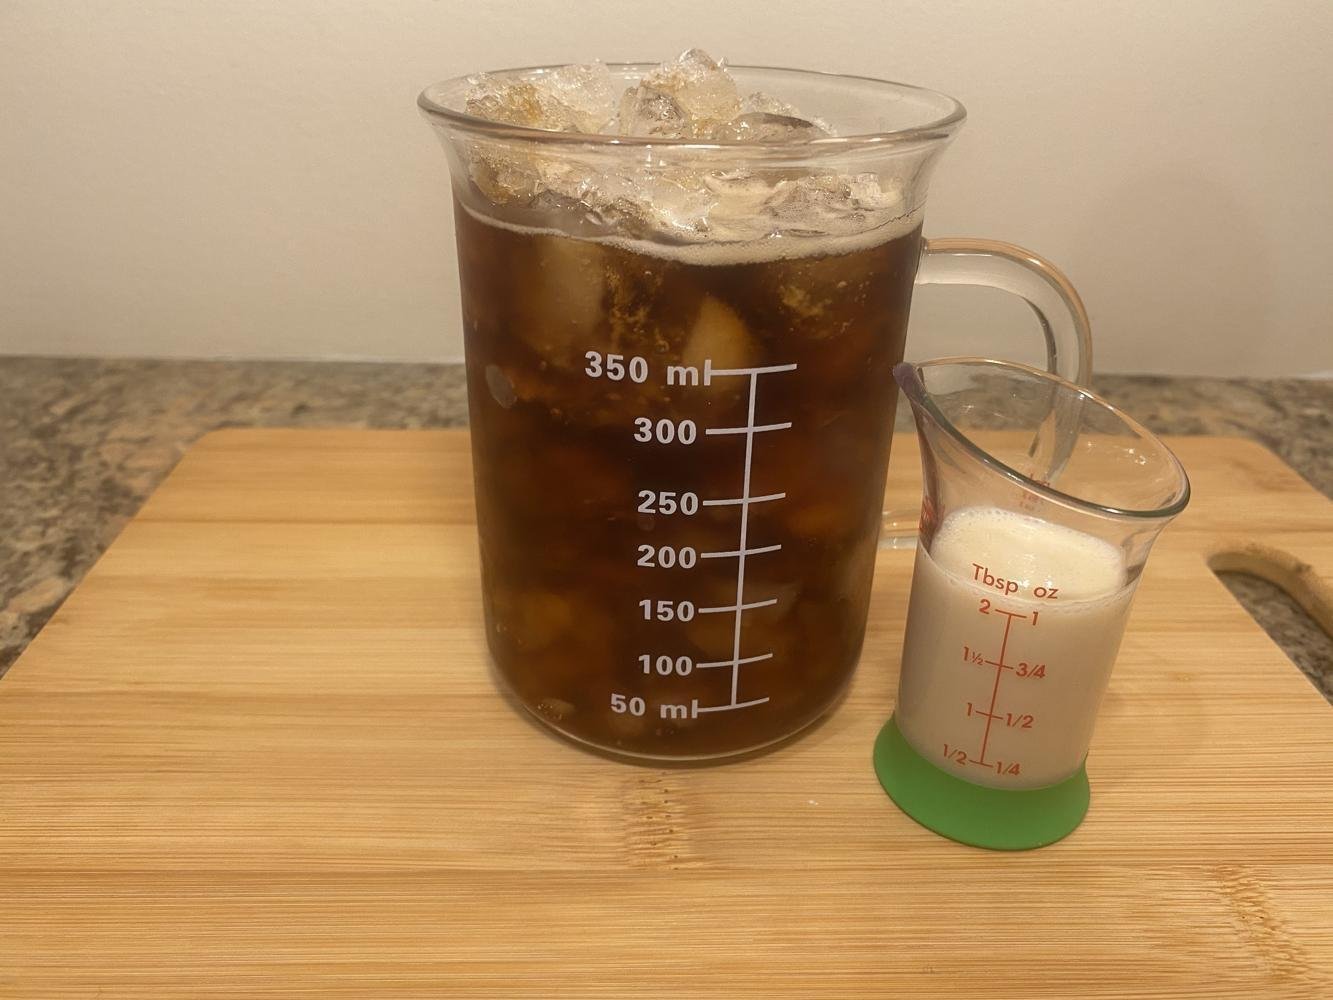
- Fill a 16-oz glass with ice, add cold brew to the top, leaving a couple inches for the vanilla sweet cream.
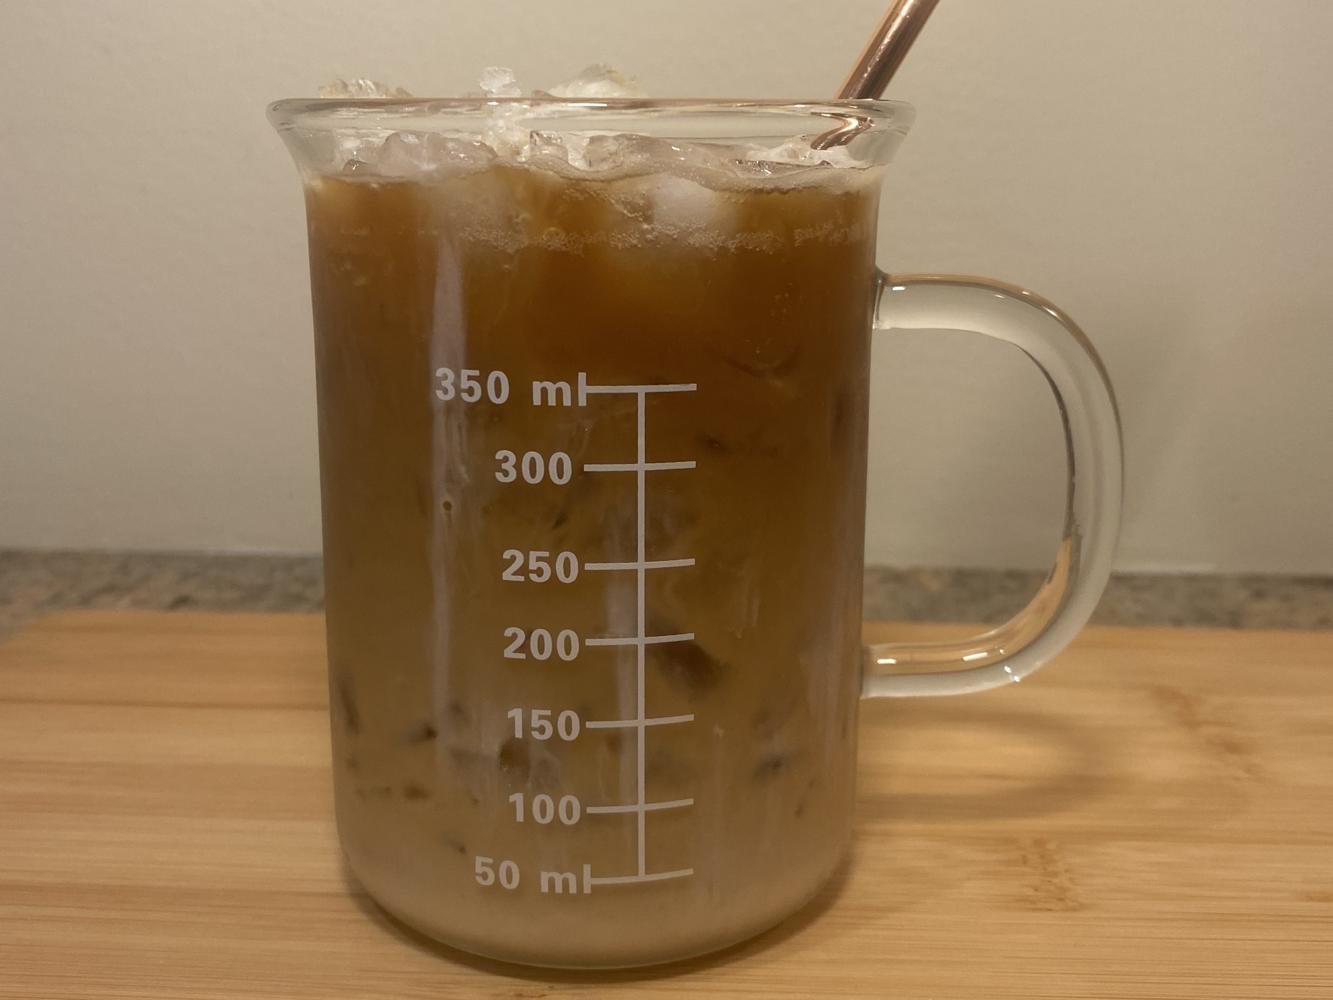
- Drizzle 2 Tbsp. of vanilla sweet cream on top of the cold brew.
- Stir, and enjoy!